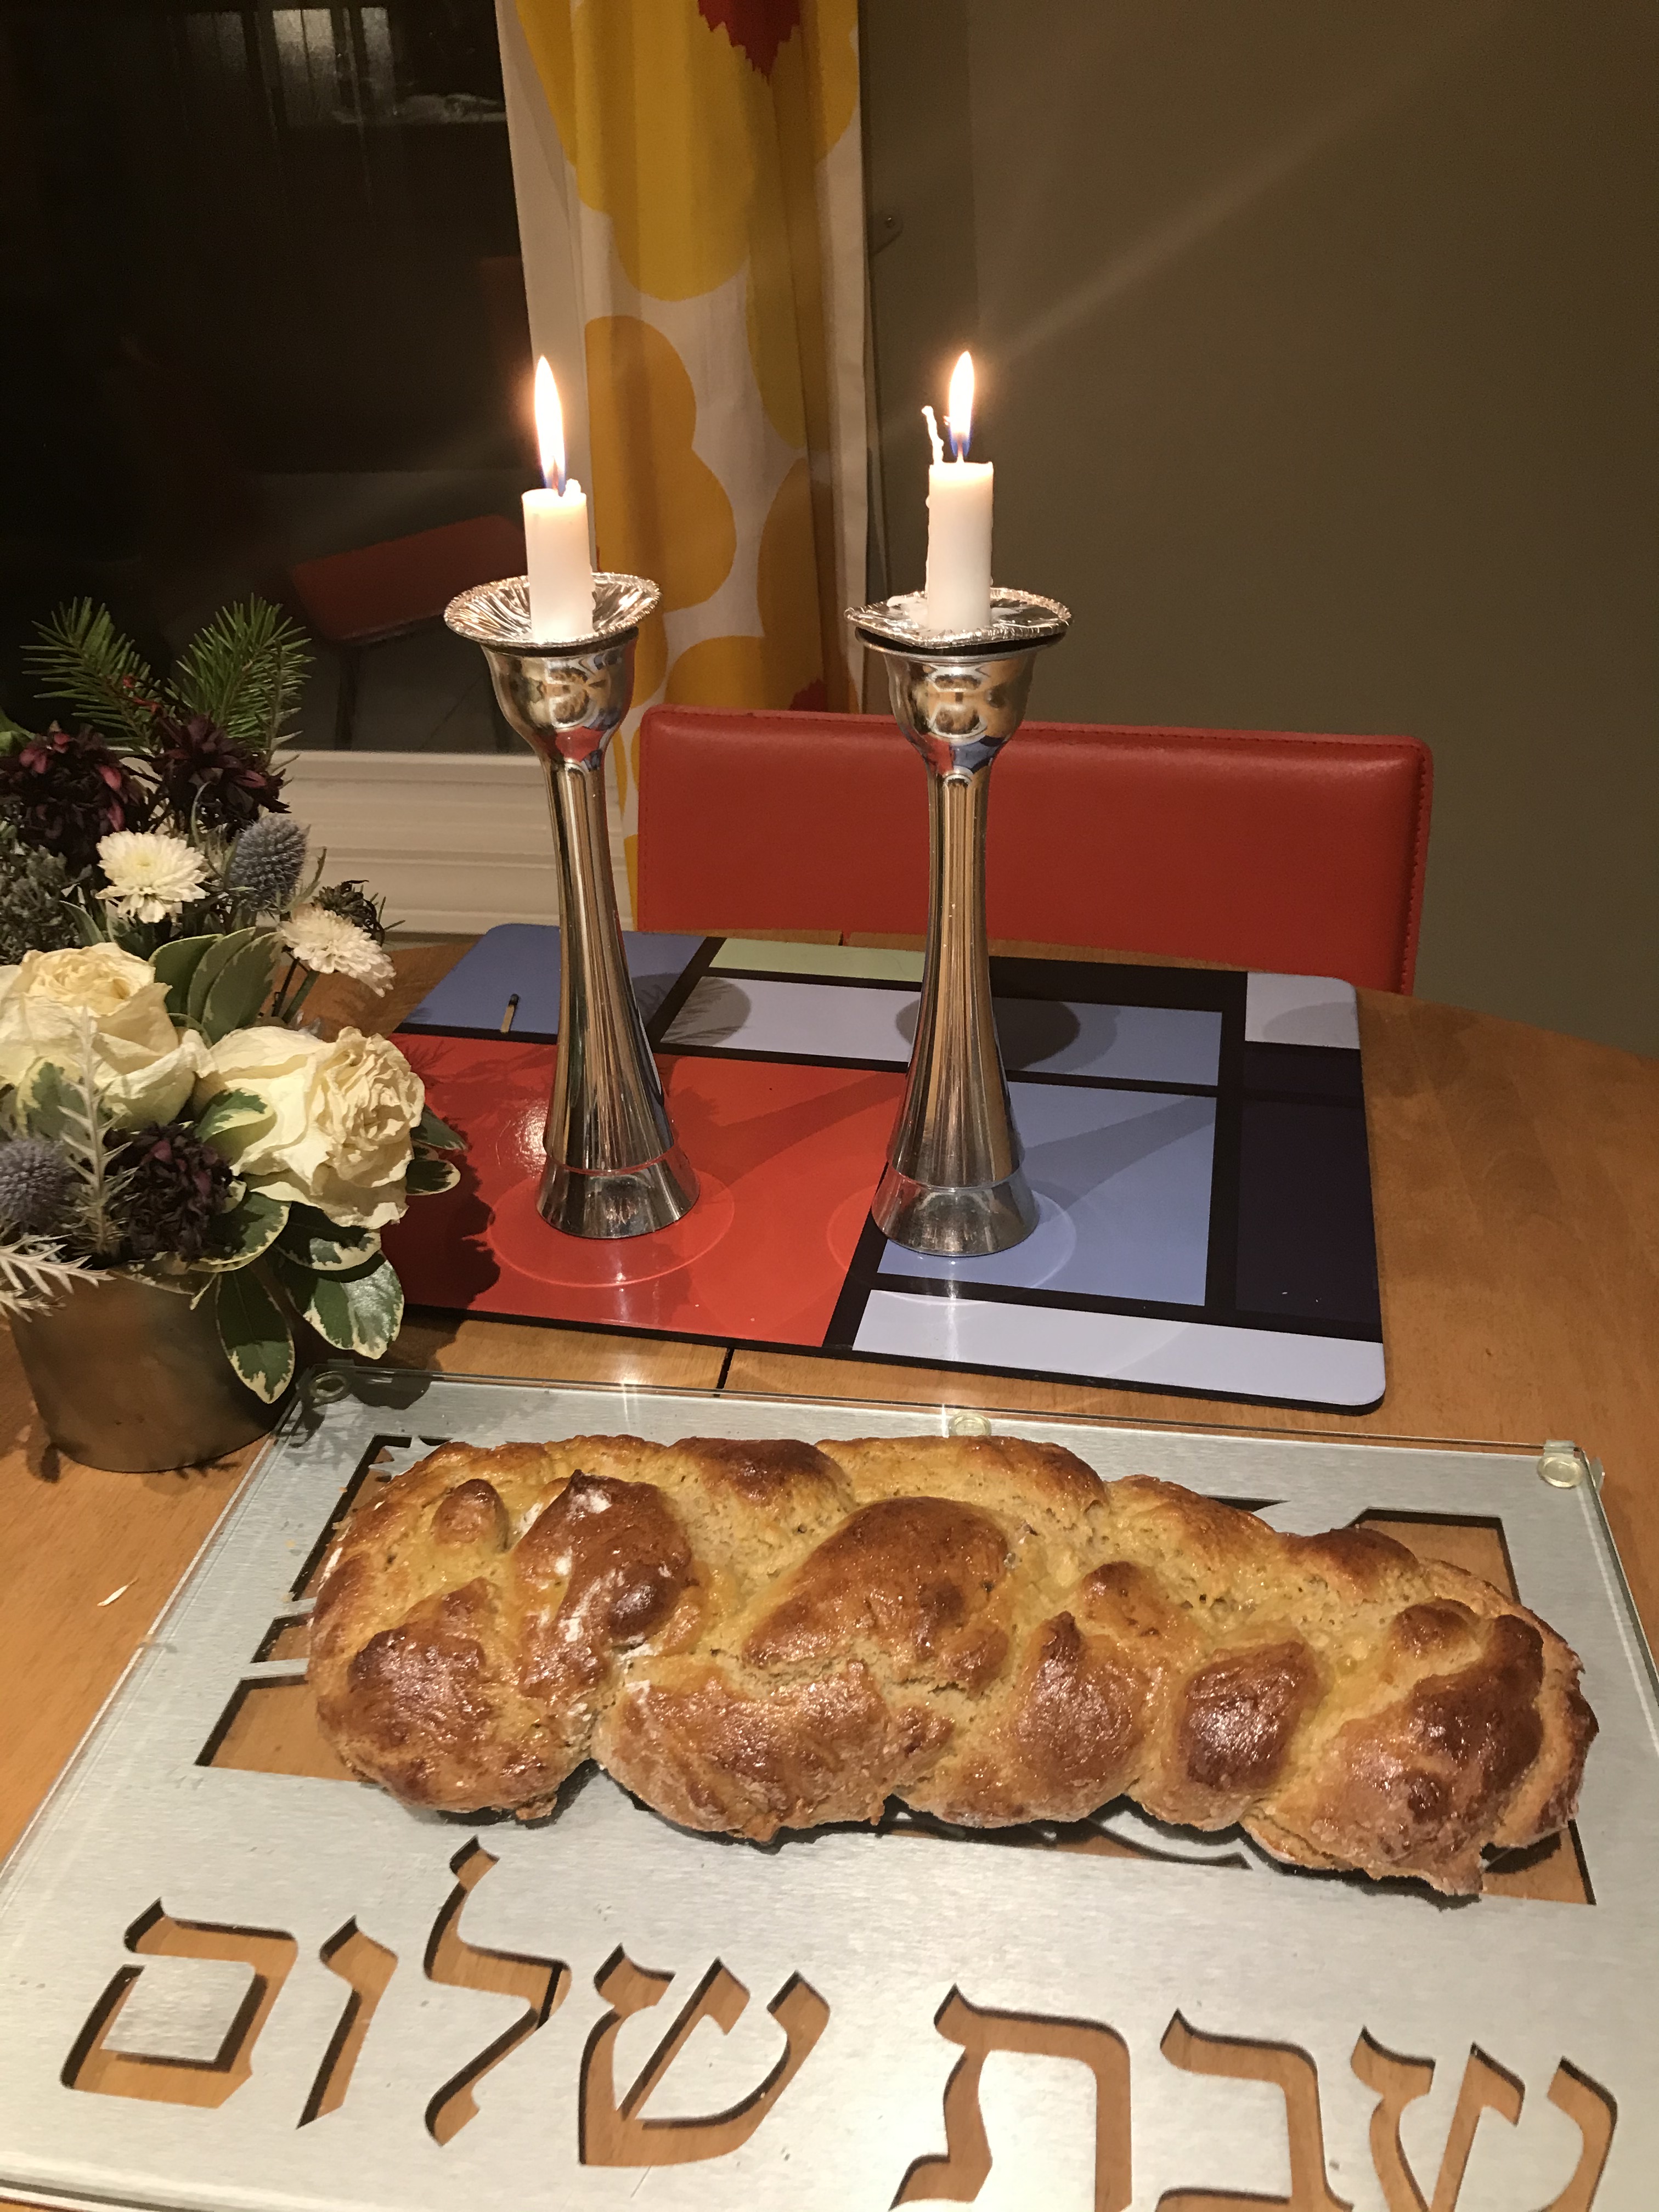
Braidable Gluten-Free Challah

I am so happy with this braidable gluten-free challah that it even got me to update this dormant blog, so I could share the recipe. I haven’t posted here in five years. Mostly because work, life, and family have taken precedence over an unpaid blog. Plus, there are so many other gluten-free blogs out there these days that I didn’t feel the need.

But, through the years, one thing has remained true. It’s been almost impossible to find a braidable gluten-free challah recipe — until now! Most food can be cooked gluten-free with great results (try our amazing recipe for brownies!). But gluten-free bread is hard. And gluten-free braidable bread is almost impossible.

The gluten in wheat is responsible for the stretchiness of dough. Without gluten, you’re simply not going to get silky, stretchy, shapeable dough. Gluten-free bread dough, no matter what recipe you use, looks more like cake batter. It is thick and tacky and does not want to be prodded or braided.

So, during Covid, I’ve experimented and come up with a fluffy gluten-free challah recipe that you can actually braid. Mind you, it is not the yellow fluffy bread that you once knew as challah. But let go of the past and embrace the gluten-free present.

So, during Covid, I’ve experimented and come up with a fluffy gluten-free challah recipe that you can actually braid.

Special ingredients

In this recipe, I’ve used some ingredients that act as binders. These help the dough stick together more, so it is shapeable and braidable without being as sticky. I’ll explain why I’ve used these ingredients in case you’re curious, although don’t let this lengthy description scare you off. But most of the ingredients are pretty common, unlike the psyllium husk that some recipes call for.

Higher-protein gluten-free flours give bread dough more structure. In the old gluten-free days, we used to mix our own blends by using several different types of gluten-free flours (like sorghum or teff). But who wants to bother with that these days? I certainly don’t.

Gluten-free flour

I’ve used my favorite gluten-free flour blend, Bob’s Red Mill Gluten-Free 1-to-1 Baking Flour. (I actually got to interview Bob once. I was so geeked about that!) Note that Bob’s 1-to-1 flour blend contains xanthan gum, so you don’t need to add more for this recipe. If you are using a gluten-free flour blend without xanthan gum, you’ll need to add 1 tablespoon xanthan gum.

Flax

To add more protein to the flour blend and give the dough more structure, I added flax meal. Flax is also a good binder. For instance, 1 tablespoon of flax meal mixed with 3 tablespoons of warm water can be used as a vegan egg substitute. If you don’t have flax meal, you might be able to skip it and substitute more of the oat flour instead, but please note that I have not tested it this way. (If you buy flax meal, you can use it to add protein and fiber to smoothies.)

Oats

I included gluten-free oats in this recipe, because challah really should contain one of the five grains specified in the Bible — wheat, rye, barley, spelt, and oats. (OK, technically, I think this challah would need to contain more oats, but let’s not focus on that.) Oats also add protein to the dough. To make oat flour, I take regular gluten-free oats and grind them into a powder with a coffee grinder. (And you do know, don’t you, that you need to buy purity protocol oats that are certified gluten-free, because of a high chance of cross-contamination with gluten?)

Almond milk

Usually, to make bread, you proof the yeast in warm water. But one can proof yeast in warm milk. In this recipe, I proof the yeast in warm almond milk, so that the recipe is pareve and dairy-free. The protein in the almond milk also helps with the structure of the dough — at least that’s my unscientific theory.

Egg replacer

I also used 1 tablespoon of egg replacer in this recipe, in addition to the eggs. My theory is that in vegan baking, you’d use egg replacer to help with the binding and the rising. So I used 1 tablespoon of egg replacer to add lift here. Egg replacer powder helps provide lift without the stickiness of an extra egg. Two popular brands are Ener-G and Bob’s Red Mill.

You could probably omit the egg replacer if you don’t have it, though I haven’t tested it that way yet. I bought the egg replacer at Target, so it isn’t as hard to find as you’d think. It’s good to have on hand if you do any vegan baking, want to make edible cookie dough, or if you run out of eggs one pandemic day.

Banana (don’t worry, you won’t taste it)

It might seem like an odd choice, but I also included a mashed banana. This is another vegan baking trick that I learned from a friend. Bananas can be used as an egg replacement in vegan baking, so I reasoned that it would help with the binding here. Plus, many gluten-free baked goods tend to be dry. The banana adds moistness and fluffiness to the challah. I 100% promise you that you will not taste the banana in the finished bread. If, nonetheless, you are totally averse to banana, you could use one of those 4-ounce kid cups of applesauce instead, but you’ll actually taste the applesauce more than you’d taste the banana. If you’re using a frozen banana here (I always freeze brown bananas), defrost it and mash it up with its liquid (don’t discard the liquid).

Working the dough

Despite all these tricks, the dough can still be a little sticky and hard to manipulate. When braiding, flour your work surface well. Sprinkle a little flour on top of the ropes of dough too, so they won’t be sticky. If you find that an area is still sticky, sprinkle more flour on it.

This recipe works best when used to make two smaller challah loaves, rather than one big loaf. It is easier to maneuver the dough for two smaller loaves.

This challah does not store well on the counter or in the refrigerator. It will dry out like a rock if left out overnight (sorry). But it freezes beautifully. So if you make the challah ahead of time or have leftovers, wrap the challah in plastic wrap, put it in a zip-top bag, and stick it in the freezer. Then defrost it in the microwave or in the oven when you want to eat it, and it will be fantastic.

Don’t be scared off by the extra steps and special ingredients. It’s worth it! The result is a braidable fluffy gluten-free challah that you’ve been craving for so long!
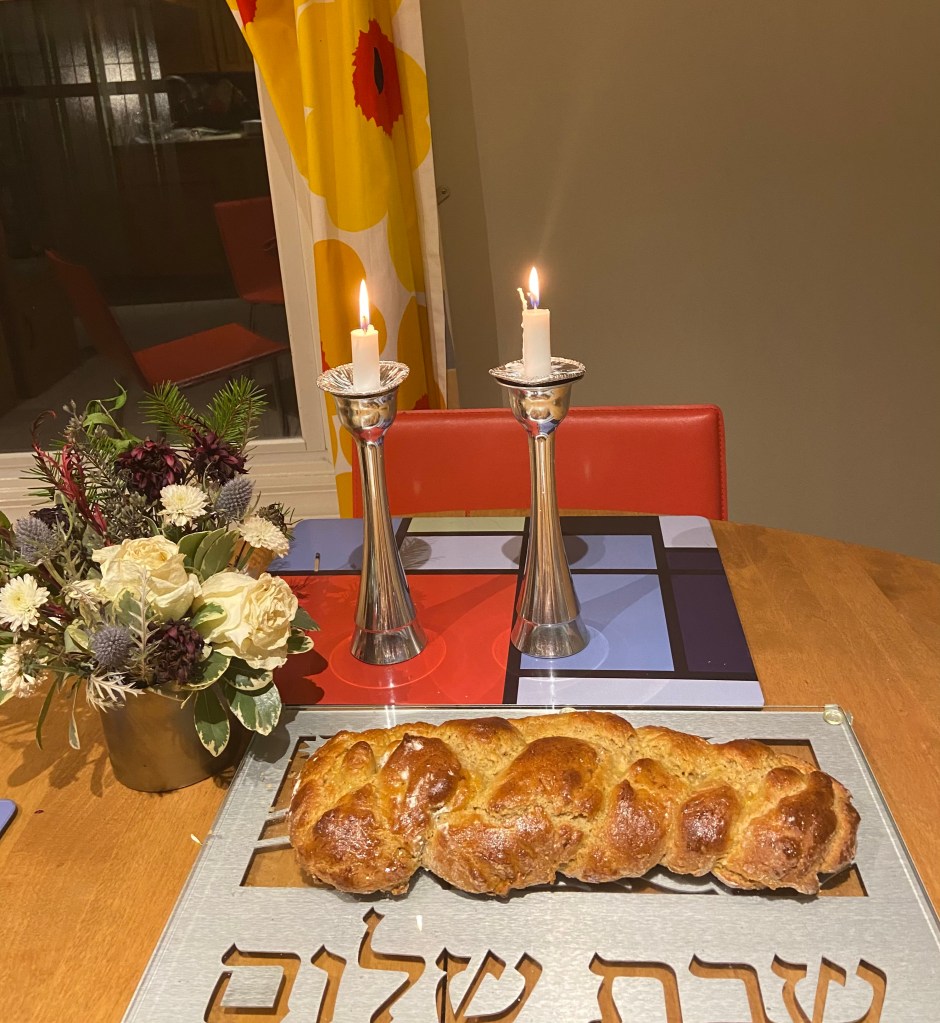
braidable gluten-free challah

Gluten-Free Braidable Challah

Printable recipe

(gluten-free, dairy-free)

A good recipe for braidable gluten-free challah is hard to find. Happily, this recipe makes a fluffy, braidable gluten-free challah that you will love. The dough requires a few special ingredients to help provide extra binding and lift while reducing the stickiness of the dough. If you don’t have these ingredients, see the notes in the story above.

This challah does not store well overnight on the counter or in the fridge, but it freezes beautifully. So if you make it ahead of time or have leftovers, freeze it and defrost when ready to eat.

Ingredients

  • 1 teaspoon sugar
  • ½ cup warm almond milk, 105°F-115°F
  • 1 packet (2 ¼ tsp) yeast
  • 3¼ cups gluten-free flour blend (I use Bob’s Red Mill Gluten-Free 1-to-1 Baking Flour)
  • ½ cup gluten-free oat flour (grind oats in coffee grinder)
  • ½ cup packed brown sugar
  • ¼ cup flax meal
  • 1 tablespoon egg replacer (yes, use this in addition to eggs, it is a binding agent; you could probably skip if you don’t have it, though I haven’t tested the recipe without it)
  • 2 teaspoons baking powder
  • 2 teaspoons salt
  • 2 large eggs
  • 2 egg yolks
  • ¼ cup canola oil
  • 2 tablespoons apple cider vinegar
  • 1 ripe banana, mashed
  • Egg wash (1 beaten egg)

Method

  1. In a small bowl, dissolve 1 teaspoon sugar in 1/2 cup almond milk that is heated to 105°F-115°F (use an instant read kitchen thermometer to test it). Stir in yeast with a fork until dissolved. Let mixture stand until yeast begins to foam, about 5 to 10 minutes.
  2. In a large bowl, combine gluten-free flour blend, oat flour, brown sugar, flax meal, egg replacer, baking powder, and salt. Whisk with a fork to combine.
  3. In a mixer with flat paddle attachment (no dough hook needed), beat eggs, yolks, oil, and vinegar, until combined. Beat in mashed banana. Mix in proofed yeast mixture.
  4. Turn the mixer to low speed and gradually mix in the flour mixture. Mix the dough for 5 minutes on low. (It will be more like a batter, not stiff like regular bread dough.)
  5. Cover mixing bowl with a tea towel. Put bowl aside in a warm, undisturbed place for 45 minutes to 1 hour to rise.
  6. After the dough has risen, get ready to shape it. Line a baking sheet with parchment paper. Liberally sprinkle gluten-free flour on your work surface, such as a clean kitchen counter, silicone baking mat, or parchment paper, so that the whole area is floured.
  7. It is easier to make two smaller loaves, rather than to make one large loaf. To make two loaves of challah, you will need to divide the dough into six pieces. In the mixing bowl, divide the dough roughly in half. From one half, scoop three equal-sized lumps of dough onto your floured work surface.
  8. Lightly sprinkle some flour on top of each of the balls of dough. With a very light touch and not too much manipulation, roll each ball into a rope of dough. (If dough or surface gets sticky, sprinkle more flour.) Place the three ropes parallel to each other. Pinch the top together and carefully lift each log over the other to braid the dough. If your braid comes apart, just smush it together a bit — you won’t be able to tell once it’s baked. Repeat with the remaining dough to form a second loaf.
  9. Carefully transfer the braided loaves to a baking sheet. (Or if you braided the challah on a silicone baking mat or parchment paper, transfer the mat or paper to the baking sheet.) Cover loaves with a tea towel and let rise again in a warm place for 30 minutes.
  10. Preheat oven to 375°F. Brush top of loaves with egg wash. Bake about 30 minutes until golden brown. (If you want, you can check the loaf’s internal temperature. It should reach 190°F.)
  11. If you have any leftover challah, you must freeze it. If you leave this challah out overnight, it will be like a rock. But the challah freezes and reheats beautifully, so just freeze leftovers and reheat later.

Yield

2 loaves of challah

Leave a comment

Filed under Jewish holidays, Shabbat

Gluten-Free Hamantaschen

hamantaschen1

Shaping the hamantaschen

hamantaschen2

Baked hamantaschen

Purim is a joyous Jewish holiday in which we celebrate how Queen Esther helped outsmart and thwart the evil Haman, who had plotted to destroy all the Jews in ancient Shushan (in Prussia). We celebrate by reading the Megillah (Scroll of Esther) and drowning out Haman’s name with noisemakers. We also dress in costumes, play games at Purim carnivals and eat hamantaschen (also spelled hamantashen), which are triangular fruit-filled cookies shaped like Haman’s tri-cornered hat.

In past years, I’ve struggled with making gluten-free hamantaschen. This year, I once again set out to make gluten-free hamantaschen for Purim, so my daughter could have treats to bring to her class parties and family celebrations.

I’m glad I kept trying. The gluten-free, dairy-free hamantaschen below have a delicate taste without a gluten-free grittiness. Honestly, these rolled out like a dream and kept their shape when filled and baked.

If you’re unfamiliar with hamantaschen, they are somewhat similar to the Central European kolache (or is it kolachki?), in that they are cookies with fruit centers. Traditional hamantaschen fillings are prune, poppyseed and apricot, but you can fill them with anything, including any kind of fruit preserves, chocolate chips, M&Ms or Nutella.

For a short video on how to shape the hamantaschen, see my Noshin’ on Hamantaschen post.

On Purim, we eat, drink and be merry. Enjoy!

2020 update: This gluten-free, dairy-free hamantaschen recipe still works like a dream. I originally used a mix of rice flour, sorghum flour, potato starch, tapioca starch and sweet rice flour (back in the day when there weren’t good gluten-free flour blends). Now, I just use Bob’s Red Mill’s 1-to-1 gluten-free baking flour, and it works so well! (This is not a sponsored promotion, it’s just my favorite gluten-free flour.) I’ve altered the recipe to reflect this.

Definitely mix up the dough the night before, so the dough is easier to use and so the gluten-free flours have time to hydrate, which will help avoid grittiness.

Here’s a photo of this year’s batch.

IMG_1708

Gluten-Free Hamantaschen

(gluten-free, dairy-free, pareve, kid-friendly)

By Gluten-Free Nosh

printable recipe

Ingredients:

  • 4 1/2 cups gluten-free flour blend (I used Bob’s Red Mill 1-to-1 gluten-free baking flour)
  • 2 teaspoons baking powder
  • 2 teaspoons xanthan gum (omit if it’s in your flour blend; it’s in the Bob’s 1-to-1)
  • 1/2 teaspoon salt
  • 3 eggs
  • 1 cup sugar
  • 1/2 cup safflower or canola oil
  • 2 tablespoons orange juice
  • 1 teaspoon grated orange zest
  • 1 teaspoon vanilla extract

Method:

  1. In large bowl, combine gluten-free flour, baking powder, xanthan gum (if using) and salt. Whisk to combine and set aside.
  2. In mixer, beat eggs on high for 1 minute until thick. Add sugar and beat for 1 more minute.
  3. Add oil, orange juice, zest and vanilla extract and beat until combined.
  4. Add flour combination slowly to mixture. Mix until well combined and dough begins to gather together (dough will not be stiff enough to form a ball).
  5. Remove dough from bowl, wrap in waxed paper and refrigerate overnight. Dough can be stored in refrigerator for several days before baking.
  6. When you’re ready to bake the hamantaschen, preheat oven to 350 degrees.
  7. Work with a quarter of the dough at a time, leaving the remainder refrigerated until needed, so it doesn’t get too soft or sticky. Using a rolling pin, roll out dough between two pieces of waxed paper to about 1/8-inch to 1/4-inch thickness. If dough is sticky, sprinkle some gluten-free flour on the work surface and knead it into the dough.
  8. Using a wide juice glass (or biscuit cutter), press the top of the glass into the dough to cut out 3-inch circles of dough. Gather scraps and reroll for more circles. With a spatula, move dough circles to cookie sheets lined with parchment paper.
  9. Put approximately 1 teaspoon of filling (see options below) in the center of each circle. Fold up the sides of the circle to form a triangle (symbolic of Haman’s three-cornered hat). Leave an opening at center of the triangle to let the filling peek through. Pinch edges together to prevent filling from leaking out.
  10. Bake at 350 degrees for 12 to 15 minutes or until edges are slightly brown. Let cool slightly before transferring to cooling rack.

Yield: About 18 to 24 hamantaschen

Filling options:

Use your choice of fillings for the hamantaschen. Anything goes, with one caution: liquidy cherry pie filling makes hamantaschen mushy. Options include:

  • Apricot preserves
  • Raspberry or strawberry preserves
  • Prune butter (lekvar), mixed with chopped prunes and walnuts
  • Poppy seed filling (canned)
  • Chocolate chips, M&Ms or Nutella

34 Comments

Filed under desserts, Jewish holidays

Tzimmes

IMG_5176

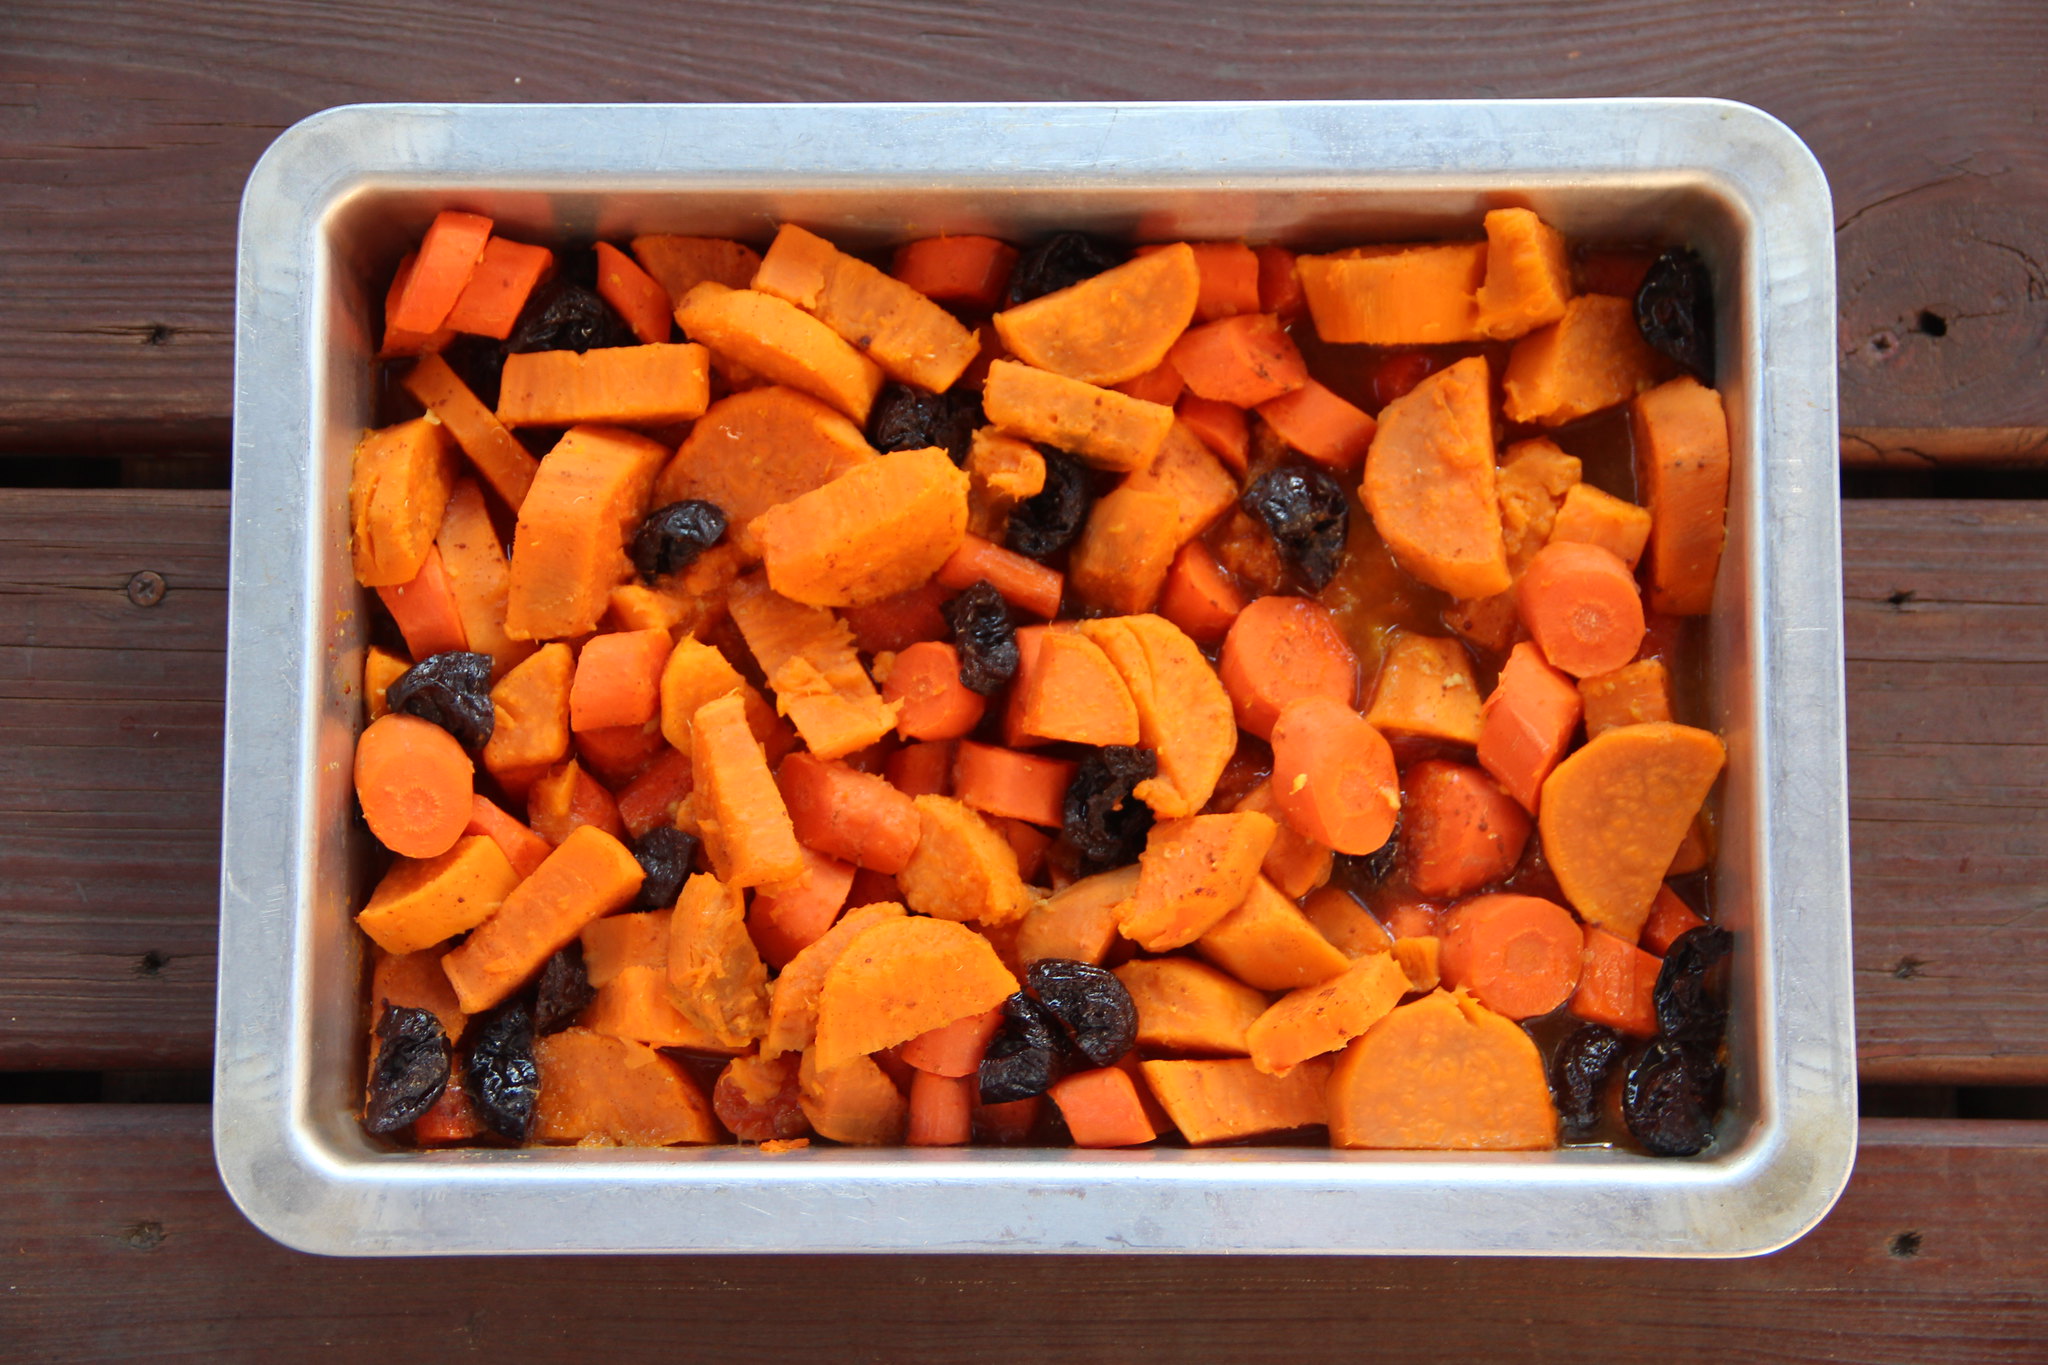
Tzimmes–a mixture of carrots, sweet potatoes and prunes–is a sweet start for the Jewish new year.

On Rosh Hashanah, we eat sweet foods to signify a sweet start to the new year. A traditional dish is tzimmes, a mixture of vegetables sweetened with honey. Carrots sliced into coins are usually included, to symbolize prosperity. In Yiddish, the word tzimmes means “a big fuss” (as in, “Don’t make such a big tzimmes over it”), but it can also mean something that’s mixed up. But there’s no fuss involved in making this easy vegetarian side dish that’s good for Rosh Hashanah, Passover or even Thanksgiving. And it’s naturally gluten-free.

Tzimmes

By Gluten-Free Nosh
(gluten-free, dairy or pareve)
printable recipe

Ingredients:

  • 1 pound carrots, cut in 1-inch rounds
  • 3 medium sweet potatoes, peeled and cut into medium chunks
  • 3/4 cup pitted prunes, cut in half
  • 1 cup orange juice
  • 1/2 cup honey
  • 1 teaspoon cinnamon
  • 1/2 teaspoon salt
  • Butter or margarine

Method:

  1. Spray a 9×13-inch baking dish or casserole dish with cooking oil spray.
  2. In a large pot, cover carrots with water and boil 5 minutes. Add sweet potatoes and boil an additional 10 minutes until tender when pierced with a fork. Drain.
  3. Preheat oven to 350 degrees.
  4. Place drained carrots and sweet potatoes in prepared baking dish. Stir in prunes.
  5. Combine orange juice, honey, cinnamon and salt. Pour mixture over carrots, sweet potatoes and prunes. Dot with butter or margarine. Cover pan with aluminum foil.
  6. Place in preheated oven and bake for 30 minutes. Uncover and bake an additional 10 minutes. Serve warm.

Yields: 8 servings

2 Comments

Filed under Jewish holidays, Passover, Rosh Hashanah

Bruce’s Brisket

brisket

Serve this brisket with potatoes and carrots for a Rosh Hashanah dinner

When my husband was younger, he had a brisket blockade. He and a family friend fiercely enforced a no-brisket zone at family dinners. He has gone in and out of the brisket blockade since then, but he still makes us this slightly sweet brisket that’s always a winner, especially for Rosh Hashanah or Passover. Plus, it’s naturally gluten-free.

This recipe makes a small brisket, using a three-pound kosher brisket sold at Trader Joe’s. You might want to double the ingredients for a bigger piece of meat.

Bruce’s Brisket

(gluten-free)
By Gluten-Free Nosh
printable recipe

Ingredients:

  • 3 pounds brisket
  • 6 carrots, cut in half
  • 2 stalks celery, cut in half
  • 1 medium onion, sliced
  • 1-2 pounds fingerling potatoes or small red potatoes, scrubbed and left whole
  • 5-6 cloves garlic, left whole
  • Salt and pepper
  • 12 ounces chili sauce (we use Heinz)
  • 8 ounces Coca-Cola

Method:

  1. Preheat oven to 350.
  2. Place brisket, fat side down, in baking pan. Add carrots, celery, onions, potatoes, garlic, salt and pepper.
  3. Add chili sauce and Coca-Cola. Meat should be surrounded by liquid, but not quite submerged.
  4. Flip brisket. (We want to cook the brisket fat side up; this gives it a nice coating.)
  5. Put a sheet of parchment paper over the baking pan and then cover with aluminum foil.
  6. Place in preheated oven and cook for 2.5 hours.
  7. Take out of the oven, slice the brisket (thin slices against the grain), return the meat to the sauce, and cook covered for one more hour.
  8. Put meat in the middle of a serving dish and flank with cooked carrots and potatoes.

Yield: 8 servings

Leave a comment

Filed under entrees, Passover, Recipes, Rosh Hashanah

Matzo Toffee, aka ‘Matzo Crack’

matzo toffee

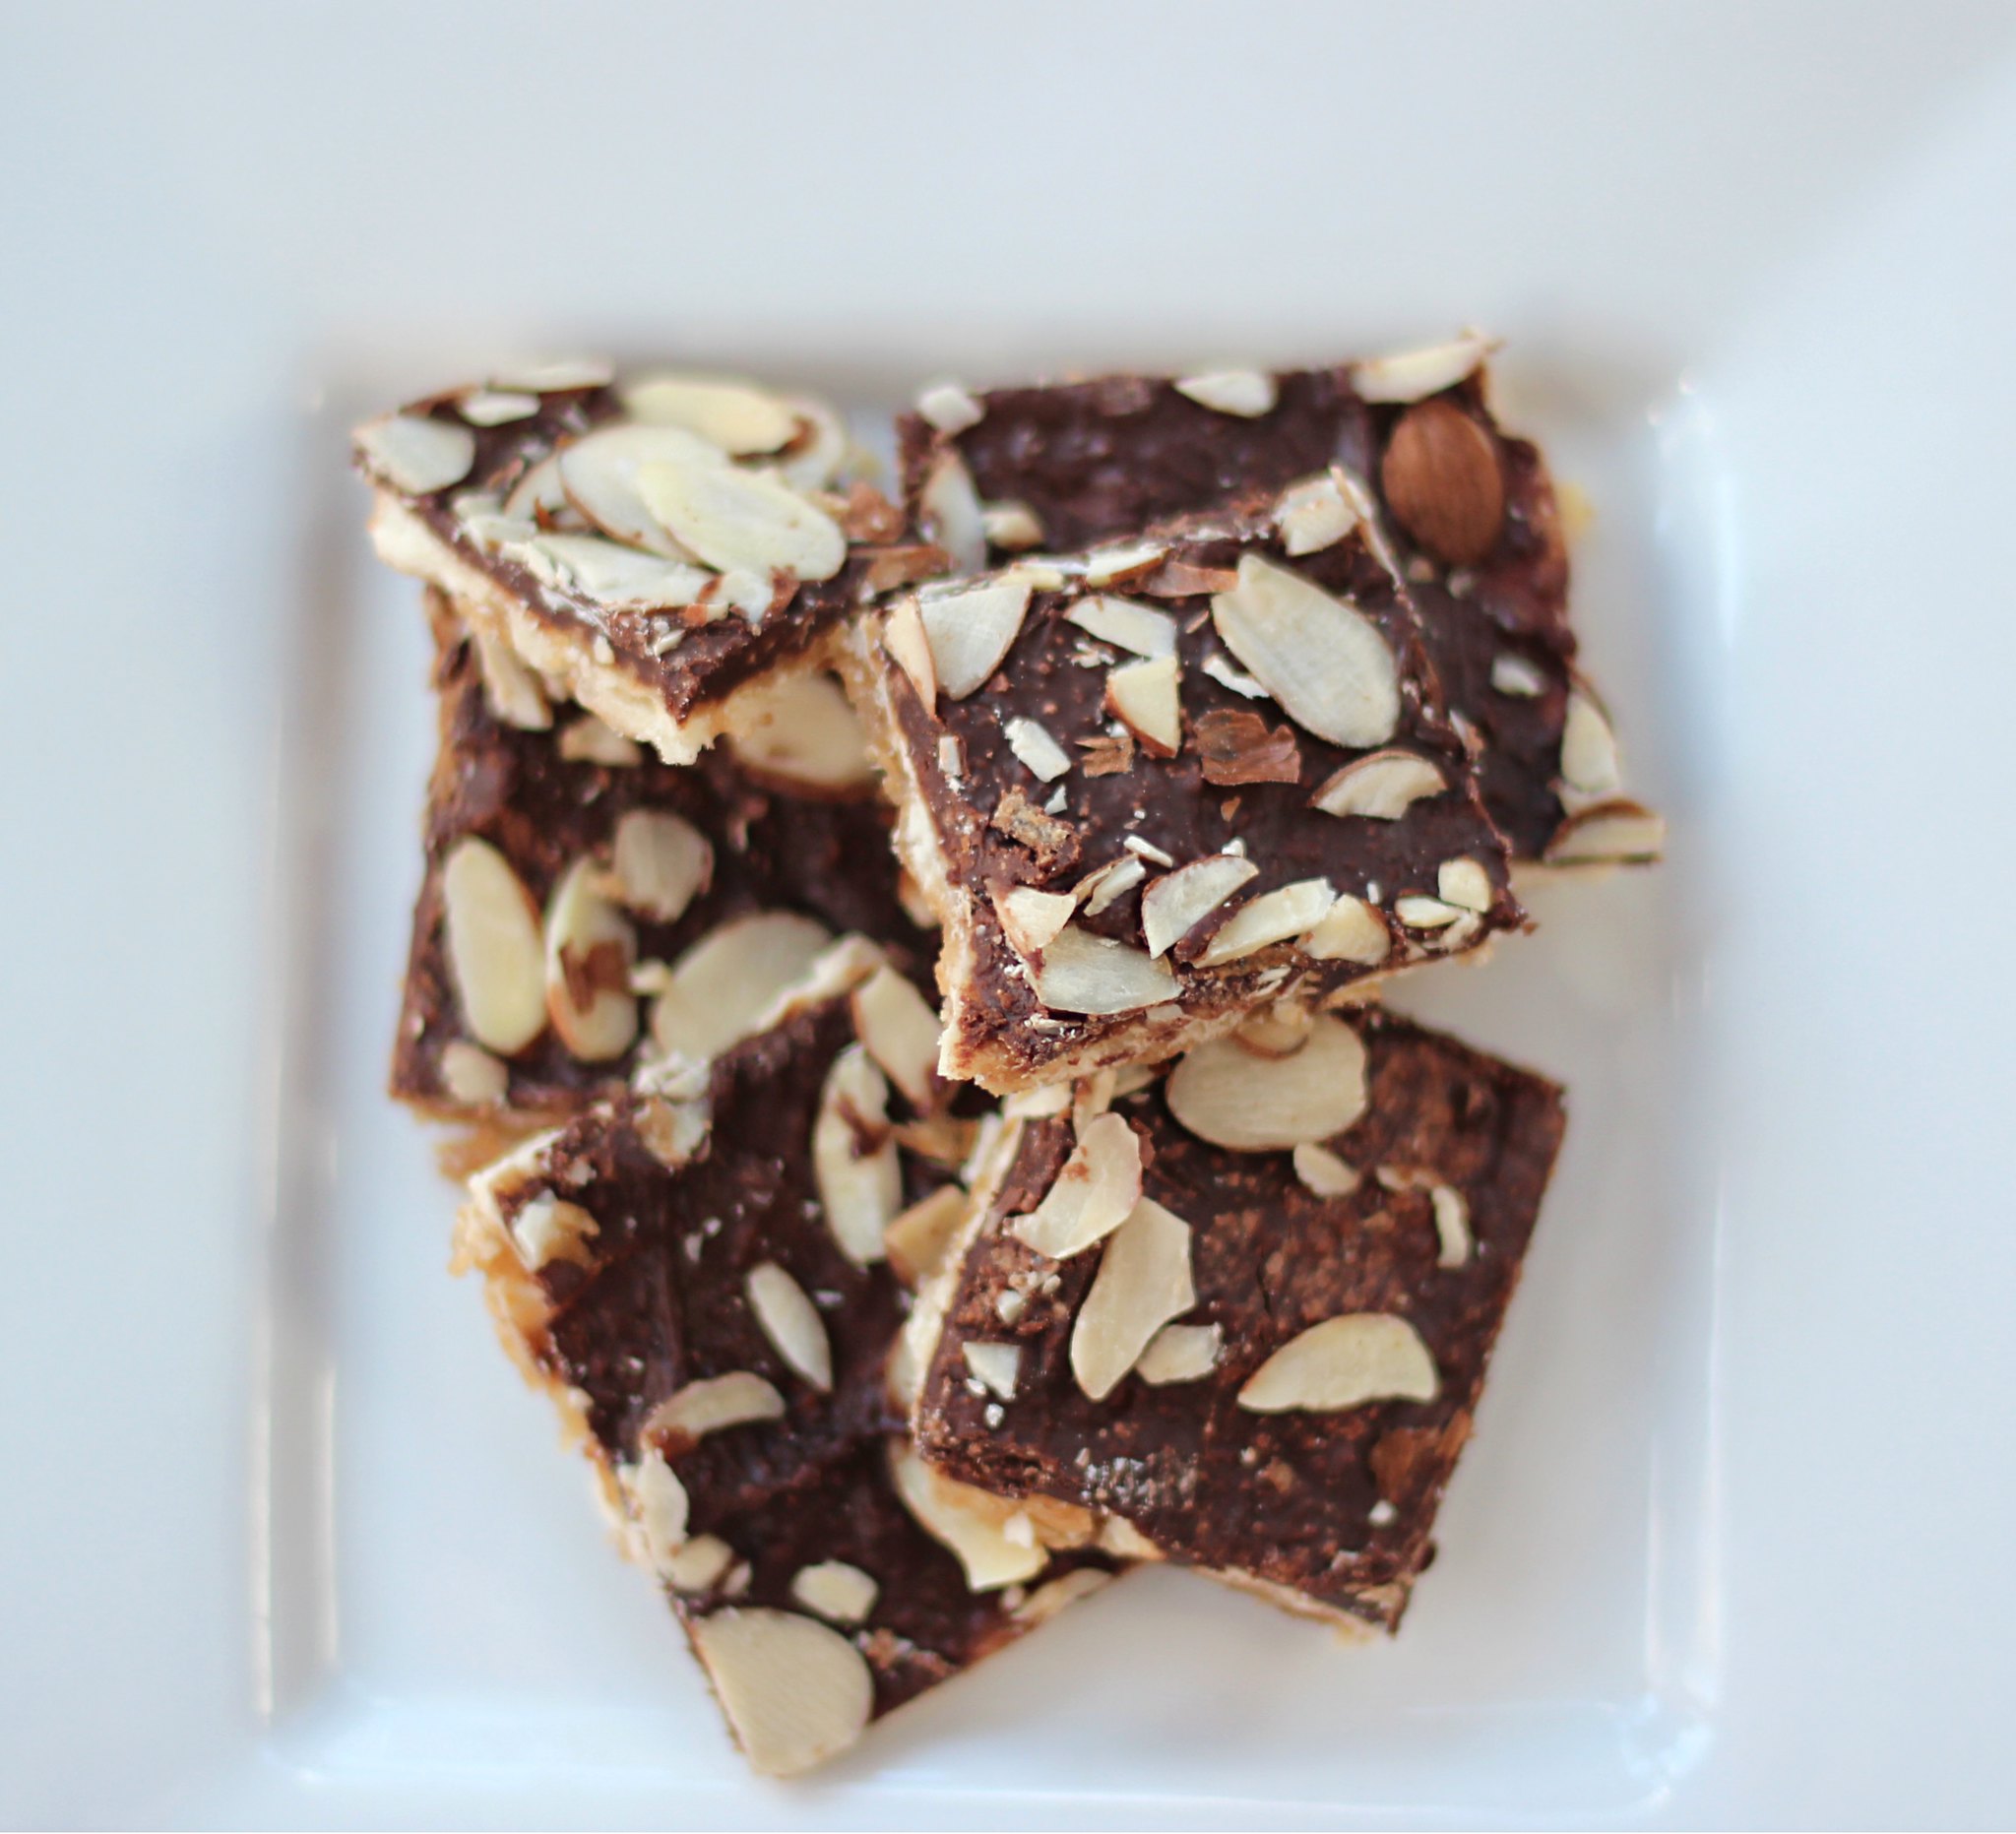
Matzo Toffee — so addictive, it’s called Matzo Crack.

“Please, Mom, can I have another piece?” “Just one more piece.” “Really, just one more? Please!!” There’s a reason that this matzo toffee is nicknamed “Matzo Crack.” It is dangerously addictive.

Matzo toffee is made with my three favorite food groups: chocolate, butter and sugar. So right away, you know it’s going to be amazing. Plus, you can make it in minutes for an easy treat for Passover or any time of the year. And it’s simple to make gluten-free by using gluten-free matzo, which actually tastes better than regular matzo. (See my earlier post on gluten-free matzo.)

I first had this addictive treat when my sister-in-law Jonna brought it for Passover one year. (Thanks, Jonna!) We’ve been craving it ever since.

Matzo Toffee, aka “Matzo Crack”

(gluten-free, dairy or pareve, Passover)
By Gluten-Free Nosh
printable recipe

Instructions:

  • 5 pieces gluten-free matzo
  • 2 sticks (1 cup) unsalted butter or Passover margarine
  • 1 cup firmly packed brown sugar
  • 2 cups (12 ounces) semisweet or dark chocolate chips
  • 1/2 cup sliced almonds
  • 1/8 teaspoon sea salt or kosher salt

Method:

  1. Preheat oven to 325 degrees. Line a rimmed 18×13-inch sheet pan with parchment paper.
  2. Arrange matzo pieces in a single layer in the pan, filling the entire pan and leaving as few gaps as possible.
  3. Combine butter and brown sugar in a medium saucepan. Cook over medium heat, until mixture comes to a boil, whisking frequently. Continue cooking and whisking for another 3 minutes until foamy. Carefully, pour toffee over the matzo and evenly spread into a thin layer with a spatula.
  4. Put pan into preheated oven and bake for 10 minutes, or until the toffee is bubbling. Remove pan and immediately sprinkle chocolate chips over top. Let the chocolate sit and melt for 5 minutes, then use a spatula to spread chocolate into an even layer. Sprinkle with sliced almonds and salt. Refrigerate until chocolate is firm, about 30 minutes.
  5. Lift parchment paper with matzo onto a large cutting board. Cut or break into 2-inch pieces. Store in an airtight container in the refrigerator.

Yield: 10-12 servings

Leave a comment

Filed under desserts, Jewish holidays

Gluten-Free Matzo Balls

Gluten-free matzo balls

Gluten-free matzo balls

Gluten-free matzo balls


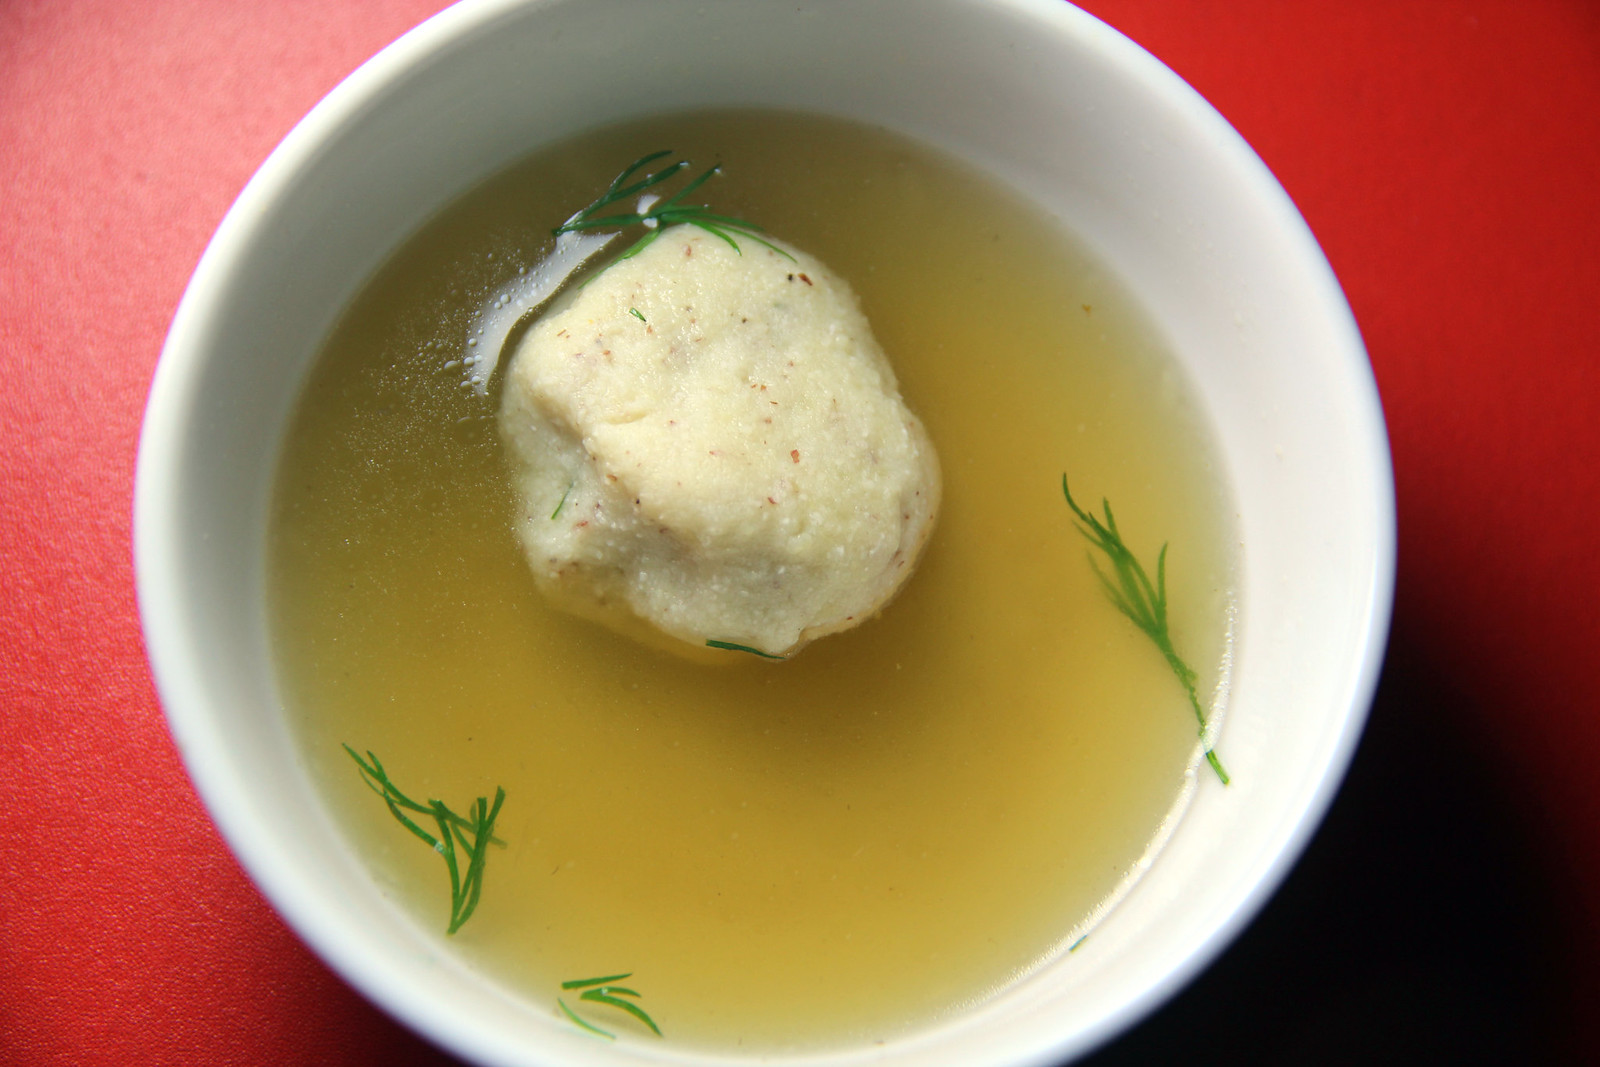
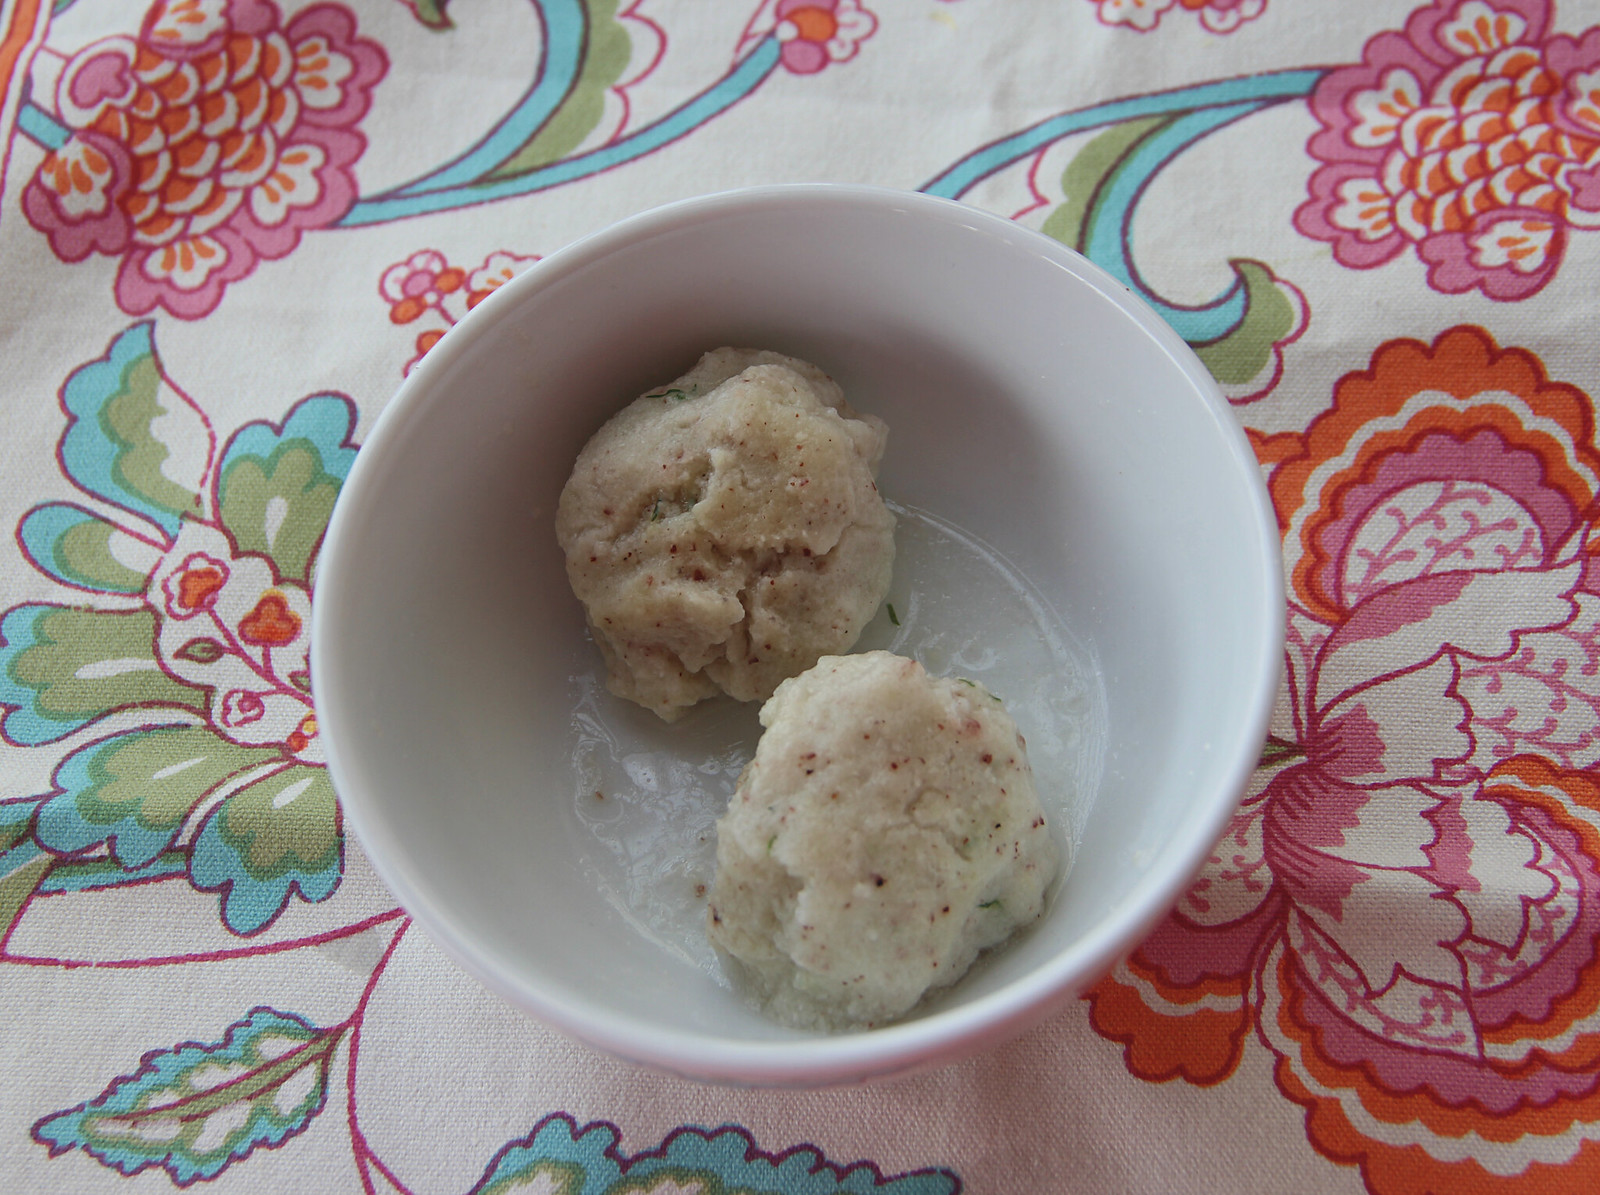
Matzo balls are a favorite at Passover and any time of the year. But what to do if you are gluten-free and can’t have regular matzo or matzo meal, let alone matzo balls? While some gluten-free matzo ball mixes are available for Passover (my favorite is Lieber’s knaidel mix), they can be hard to find.

Inspired by German potato dumplings, this recipe uses potatoes, potato starch and almond meal to make fluffy matzo balls — without the matzo. The result is gluten-free, non-gebrokts knaidlach that are fluffy on the outside, while slightly dense on the inside.

Make sure to plan out this recipe in advance, as you’ll need to refrigerate the boiled potatoes ahead of time. A potato ricer works well here to finely shred the cooked potatoes, but you can mash them well by hand instead. When boiling the matzo balls, do so at a light boil, so vigorous bubbling won’t break up the delicate matzo balls. While you can make the batter ahead of time and keep it in the refrigerator, the matzo balls are best cooked close to serving time.

This gluten-free matzo ball recipe is also featured on Joy of Kosher, a great resource for kosher recipes.

For more Passover recipes and products, check out these related Passover blogs from Gluten-Free Nosh:
Gluten-free Passover foods 2014
Gluten-free Passover meringues
Fudgy cream cheese Passover brownies
Strawberry vanilla tart in macaroon shell
Colorful quinoa salad
Chicken baked with babaganoush

Gluten-Free Matzo Balls

(gluten-free, dairy-free, pareve, Passover)
By Gluten-Free Nosh
Printable recipe

Ingredients:

  • 2 medium potatoes (Russet or Yukon Gold)
  • 2 large eggs, lightly beaten
  • 1 cup ground almond meal
  • 1/2 cup potato starch
  • 2 tablespoons oil
  • 1 teaspoon fresh dill, minced
  • 1 teaspoon salt
  • 1/2 teaspoon baking soda
  • 1/4 teaspoon garlic powder
  • 1/8 teaspoon black pepper

Method:

  1. Boil potatoes in salted water until tender and a fork can pierce the potatoes easily, about 20 minutes. Drain, return to the warm pot (no longer on the heat) and steam off any extra moisture for about 5 minutes. Peel potatoes and refrigerate for at least two hours in an open bowl.
  2. Press potatoes through a potato ricer or mash them well, so there are no lumps. Measure 1 cup (packed) riced potatoes and place in a large bowl (save the remainder for another use). Add eggs, almond meal, potato starch, oil, dill, salt, baking soda, garlic powder and pepper. Mix well and refrigerate the mixture for at least 30 minutes.
  3. When ready to cook, bring a large pot of salted water to boil. Wet hands well with water to gently form walnut-sized balls of dough. Gently drop balls in water and cover the pot. Cook in lightly boiling water (not too vigorous, or it will break up the matzo balls) for about 35 minutes. Remove matzo balls with a slotted spoon.

Yield: About 16-20 matzo balls

Leave a comment

Filed under Jewish holidays, Passover, Recipes, soups/chili

Apple Pie with Crumble Topping

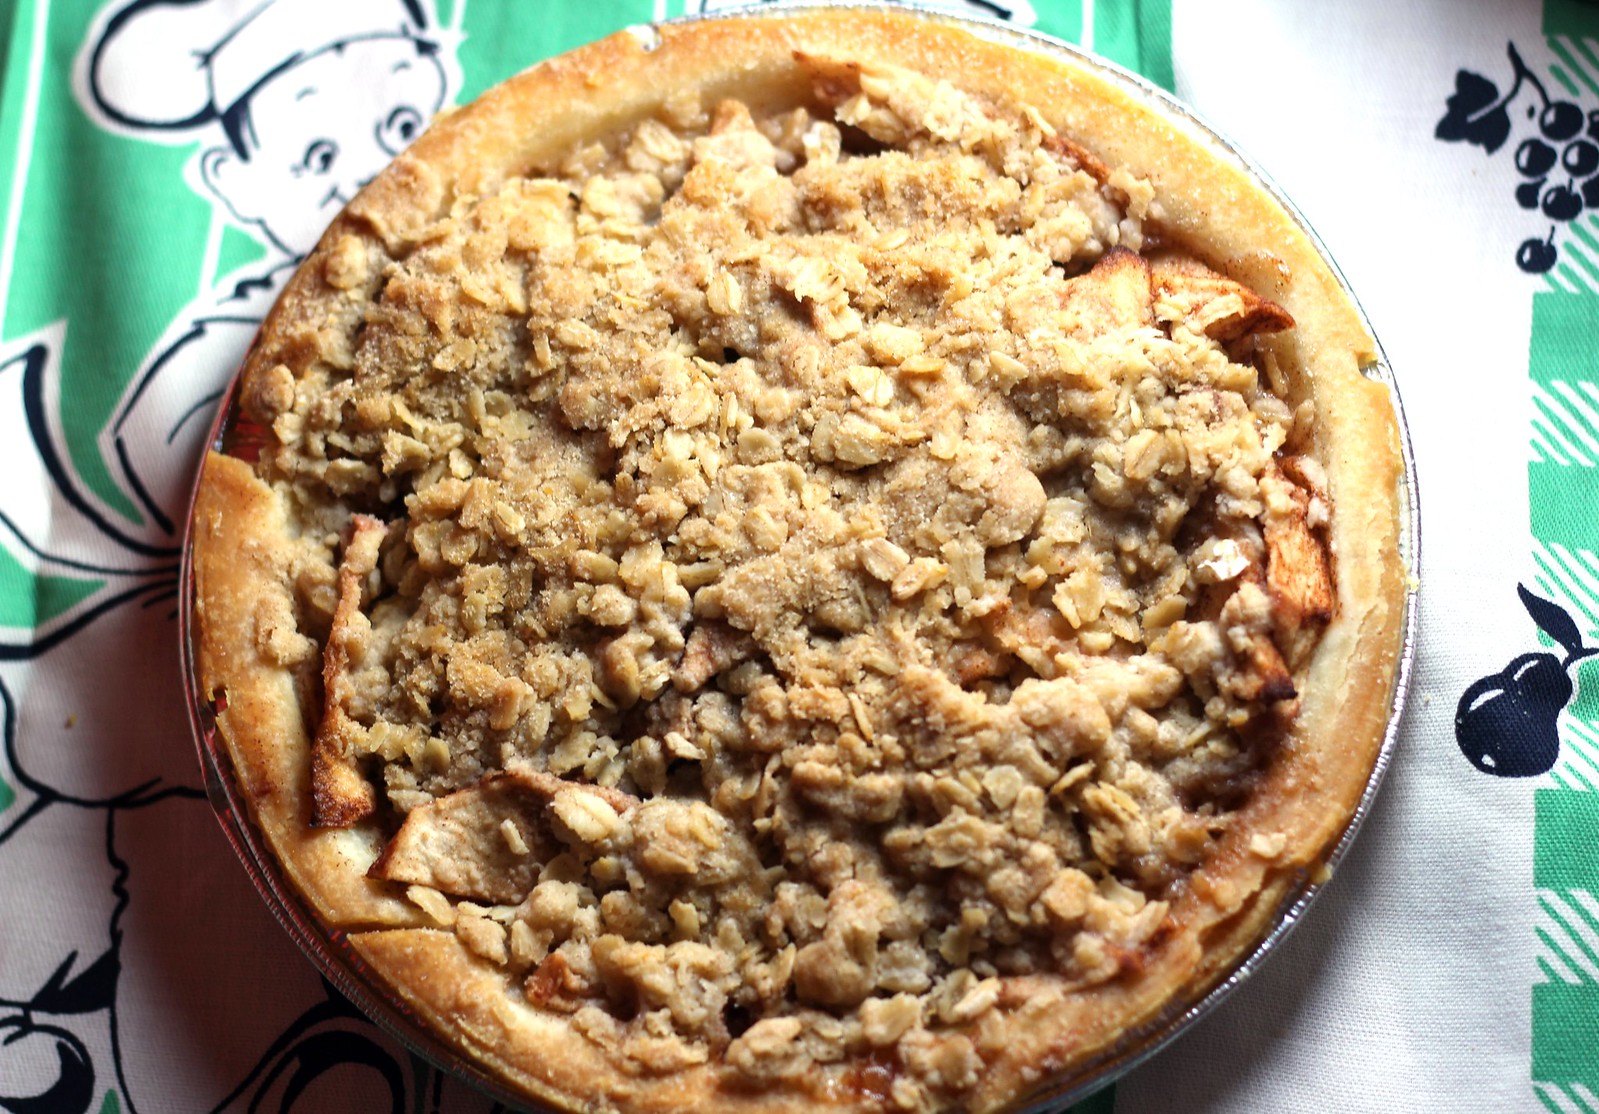
apple crumb pie

Apple pie with gluten-free crumb topping — a cross between apple pie and apple crisp

Happy Pi Day! With a family of math enthusiasts (especially my husband and my older daughter) and food enthusiasts (pretty much all of us), Pi Day is a lot of fun, celebrated by eating pie, of course. Plus there’s a bonus: today is the ultimate Pi Day–because not only is it 3/14, it is 3/14/15, the first few digits of pi.

While my oldest daughter is into pie/pi, my youngest isn’t as thrilled with either. She just doesn’t love pie, so I make this apple pie with a gluten-free crumb coating — a cross between apple pie and apple crisp — in hopes of tempting her to eat some of it. If you are gluten-free, be sure to use certified gluten-free oats, as regular oats have too much cross-contamination with gluten-containing grains.

If you prefer a traditional pie, feel free to make this apple pie without the crumble topping. Just make the apple filling as directed and dot with 1 tablespoon of butter or dairy-free alternative before placing in the oven. This apple crumb pie can be made gluten-free, dairy-free or vegan (just check the ingredients of your pie crust).

Apple Pie with Crumble Topping, Gluten-Free

(Gluten-free. Can be made dairy-free, vegan, pareve)
By Gluten-Free Nosh
Printable recipe

Ingredients:

Apple pie:

  • 1/4 cup sugar
  • 1 teaspoon ground cinnamon
  • 1/8 teaspoon ground nutmeg
  • 6 large apples
  • 2 tablespoons tapioca starch
  • 1 tablespoon fresh lemon juice
  • 1 (9-inch) unbaked gluten-free pie crust

Crumble Topping:

  • 3/4 cup certified gluten-free oats
  • 1/4 cup packed brown sugar
  • 1/4 cup brown rice flour
  • 1/4 cup tapioca starch
  • 1/4 teaspoon ground cinnamon
  • Pinch of salt
  • 6 tablespoons unsalted butter or dairy-free alternative, diced

Method:

  1. In a small bowl, mix together sugar, cinnamon and nutmeg. Peel, core and thinly slice apples, place in a large bowl and sprinkle with cinnamon-sugar mixture. Stir in tapioca starch and lemon juice. Fill pie crust with apples.
  2. Preheat oven to 375 degrees.
  3. To make the topping, place gluten-free oats, brown sugar, brown rice flour, tapioca starch, cinnamon and salt in a medium bowl; stir to combine. Add diced butter, and work in with a pastry blender or two forks until the mixture resembles coarse crumbs. Crumble topping over pie.
  4. Place in preheated oven and bake about 45 minutes until filling is bubbly.

Yield: 8 servings

1 Comment

Filed under desserts, Recipes

Chocolate Peanut Butter Bark

<a href="https://www.flickr.com/photos/glutenfreenosh/16522429215" title="chcolate peanut butter bark by Eve, on Flickr"><img src="https://farm8.staticflickr.com/7450/16522429215_49308a45cd_b.jpg" width="1024" height="1024" alt="chcolate peanut butter bark"></a>

Swirled chocolate peanut butter bark


My older daughter calls Valentine’s Day, “Chocolate Day,” because that’s mostly how we celebrate the day–with chocolate. Yesterday, I was looking for a easy, gluten-free chocolate treat that I could make as a quick after-school snack. In a matter of minutes, I whipped up this Chocolate Peanut Butter Bark.

I’ve made Dark and White Chocolate Pomegranate Bark before (actually, it was the first recipe on this blog) and ever-popular Peppermint Bark (similar thing, but with crushed candy canes instead of pomegranate seeds). So this recipe is a twist on those favorites.

You’ve got to love a recipe that has only two ingredients, comes together in minutes (other than the refrigeration time and clean-up time), looks fancy, tastes great and is naturally gluten-free.

Note: When you are melting chocolate, make sure the bowl and utensils are dry, without any drops of water. If water mixes with chocolate, the chocolate will seize and become a gunky mess when heated. Also, when using the microwave, heat the chocolate on half-power (not full-power) and remove the chocolate when it is mostly (but not all the way) melted, to prevent overheating. When you stir the chocolate, the residual heat will melt the rest of the chocolate (and if not, pop it back in the microwave briefly at half power).

What are some of your favorite chocolate treats?

Chocolate Peanut Butter Bark

(gluten-free)
By Gluten-Free Nosh
Printable recipe

Ingredients:

Method:

  1. Line a large baking sheet with parchment paper.
  2. Place chocolate chips in a large bowl and microwave on half power (such as 5 out of 10) for 1-1/2 minutes, or until mostly melted. Stir chocolate well to melt the remaining chocolate chips (if not melting, pop bowl back in the microwave briefly). Pour chocolate onto prepared baking sheet and spread thinly with a rubber spatula into a rough rectangle.
  3. Place peanut butter chips in a large bowl and microwave on half power (such as 5 out of 10) for 1-1/2 minutes, or until mostly melted. Stir well to melt the remaining peanut butter chips (if not melting, pop bowl back in the microwave briefly). Pour dollops of melted peanut buter chips on top of the chocolate. Drag the tip of a knife through the peanut butter to swirl it through the chocolate.
  4. Refrigerate for at least 30 minutes, until firm. Cut into bite-sized bark with a large knife. Note that you won’t really be sawing/cutting the bark, but rather I take a large chef’s knife, put both hands on top of it and press down on the bark to break it up.

Yield: 6 to 8 servings

2 Comments

Filed under desserts, Recipes

Spooky Spider Cupcakes

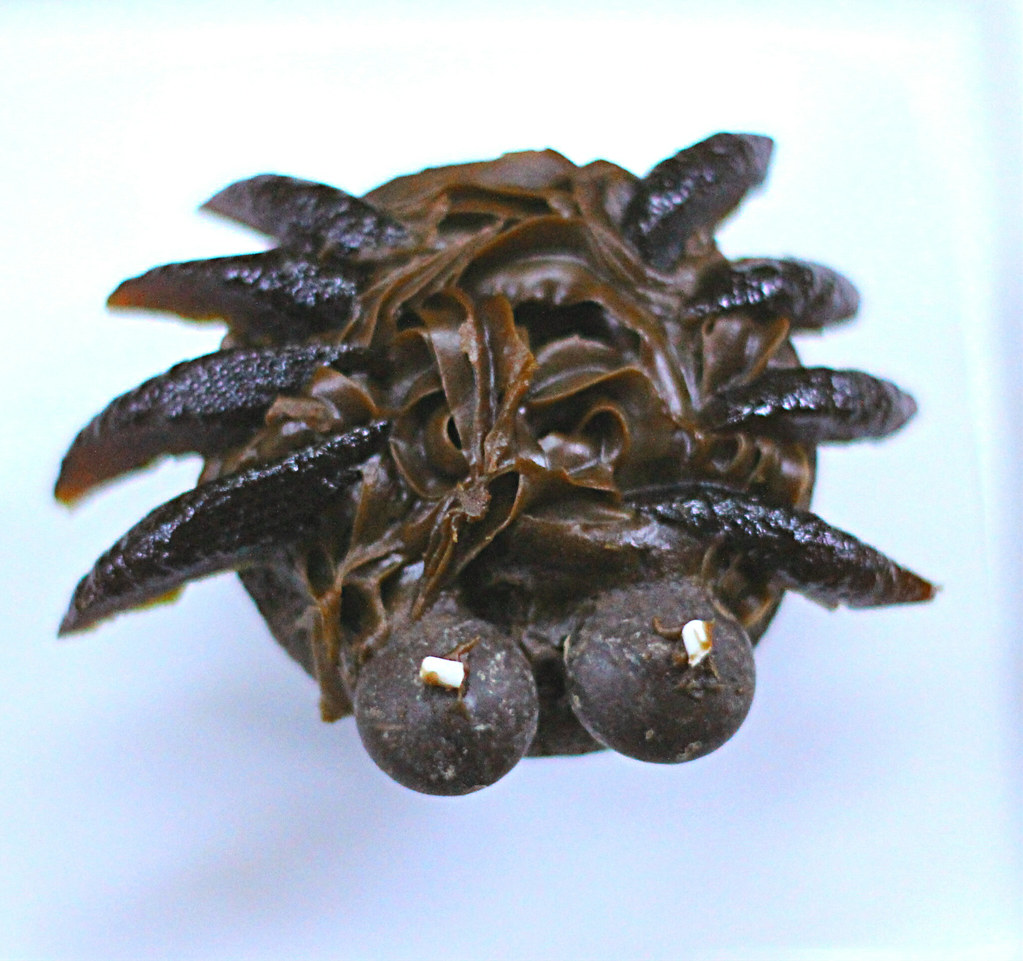
spider cupcake

Happy Halloween!

I made these Halloween spider treats to send in my kids’ school lunch today, using Udi’s gluten-free brownie bites, Betty Crocker decorating icing, Clif Kid ZFruit ropes (cut up for the spider legs), with a couple of chocolate chips and white sprinkles. All gluten-free and easy as can be.

So spooky!

Leave a comment

Filed under desserts

Pomegranate-Glazed Chicken

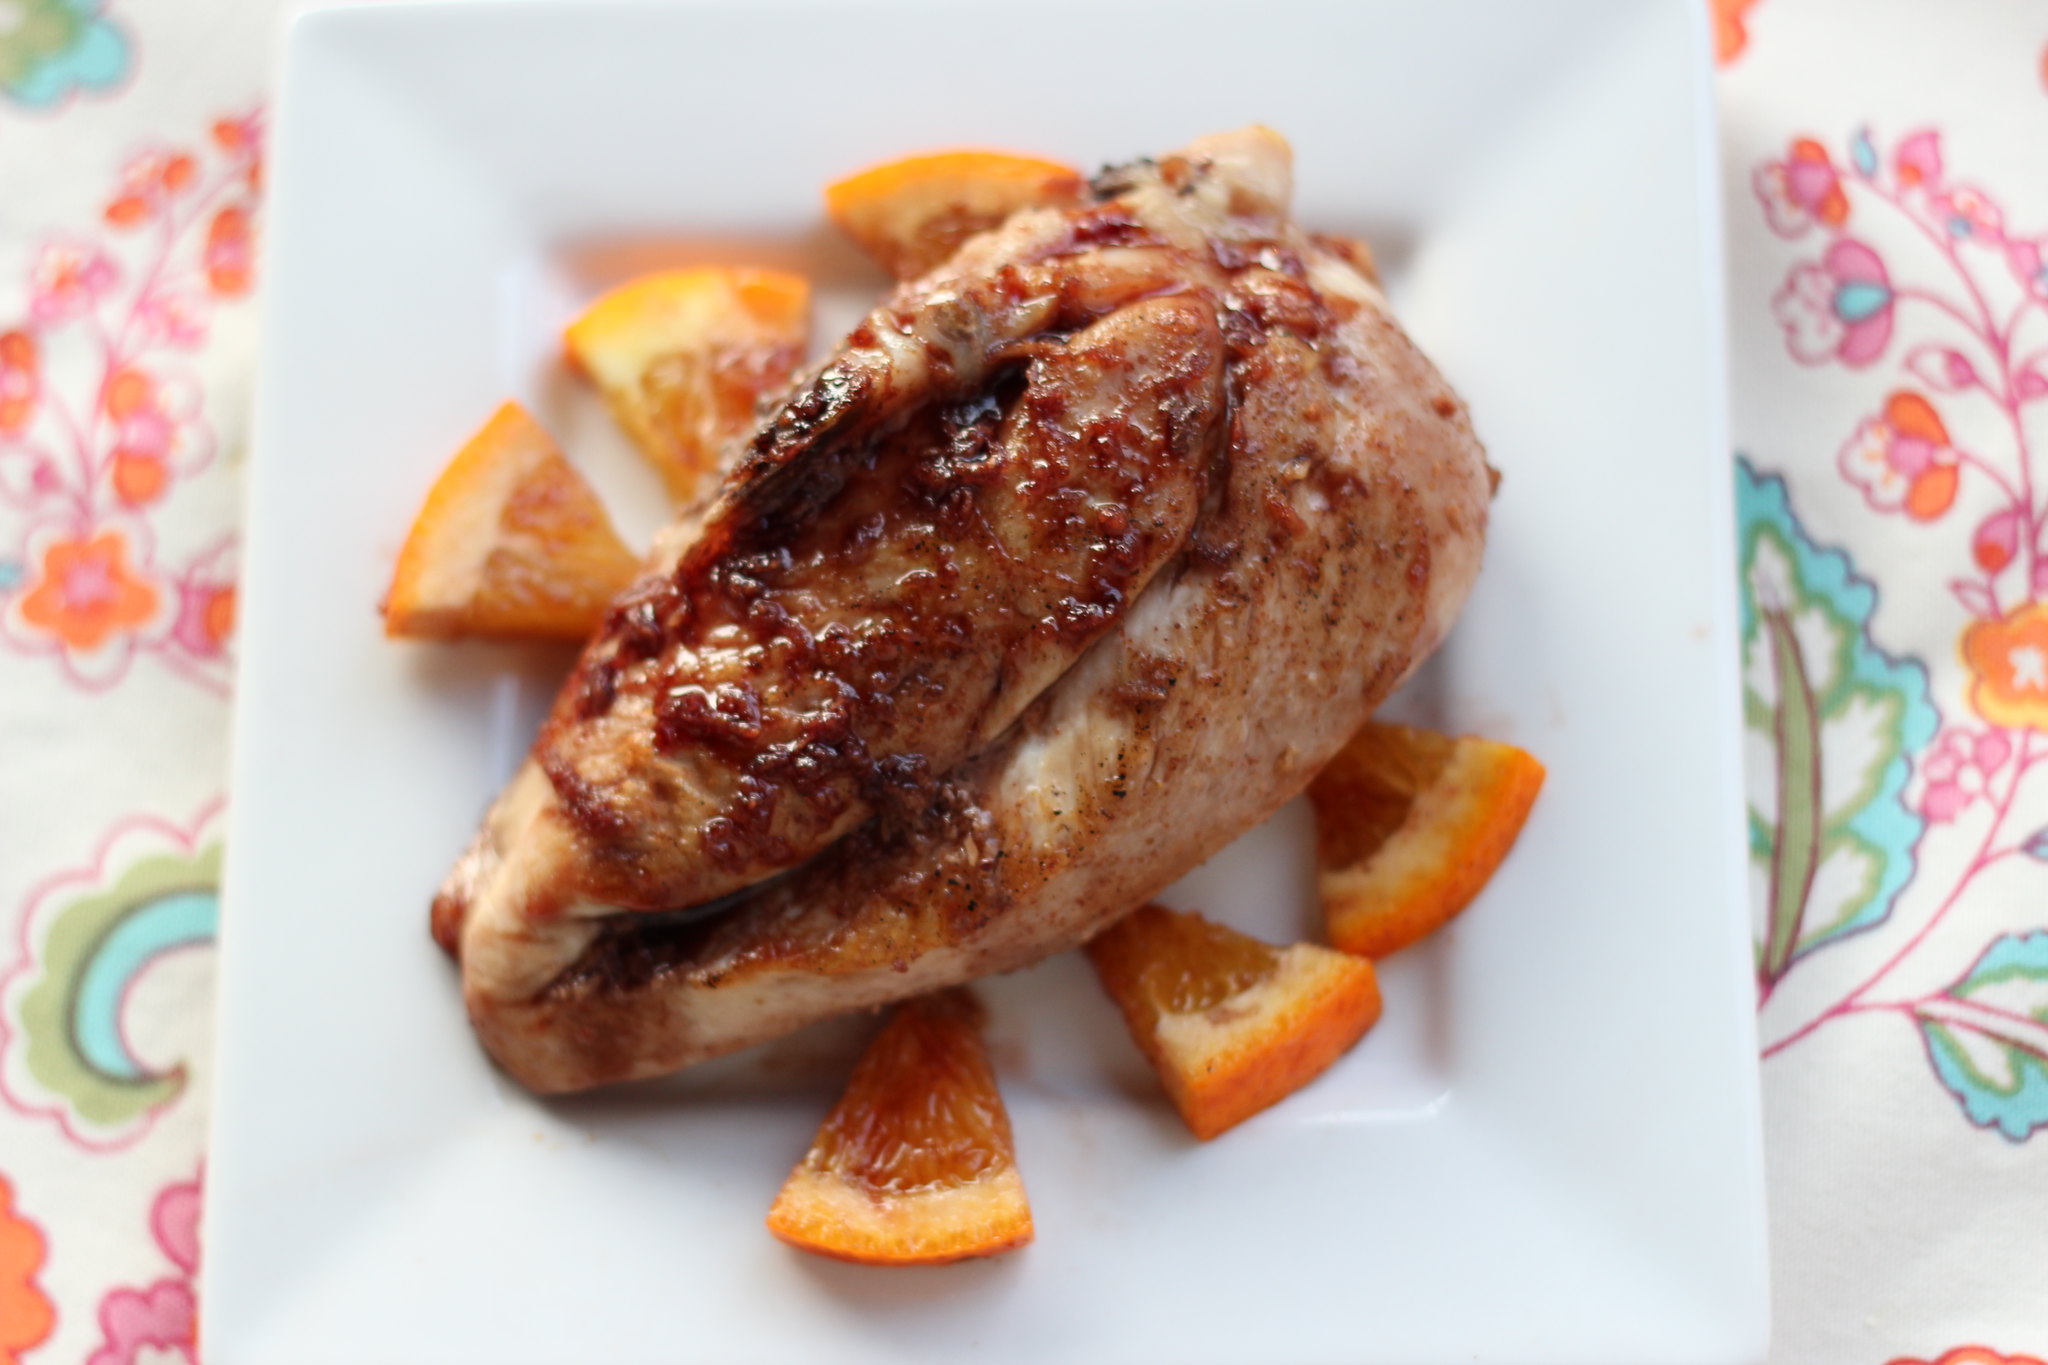
pomegranate chicken

Chicken glazed with a pomegranate sauce, spiced with ginger and cinnamon

Well, hello, blog. I haven’t posted in quite a while. As I get busier editing for the indispensable Gluten Free & More magazine (formerly titled Living Without) and with life in general, I have had less time for this blog.

As always, it helps to have a kick in the pants, which comes as part of the Kosher Connection challenge to post a pomegranate recipe.

I have an awesome Dark and White Chocolate Pomegranate Bark recipe that I posted as the first recipe on this blog in 2010. That’s still one of my favorites, an easy, elegant gluten-free dessert. But onto new recipes, for the new year.

I associate pomegranates with Rosh Hashanah, the Jewish New Year. First of all, pomegranates pop into the stores in fall, around the same time as Rosh Hashanah (although of course the Jewel didn’t have any pomegranates this weekend, so I couldn’t garnish the chicken with fresh pomegranate seeds). Also, pomegranates are said to contain 613 seeds, which is the same number of commandments in the Torah. On Rosh Hashanah, we want to be as full of good deeds in the coming year as the pomegranate has seeds.

Also on Rosh Hashanah, it is customary to eat sweet foods for a sweet new year. This pomegranate-glazed chicken delivers in that category, with a fruity but not overpowering sauce spiced with ginger, cinnamon and cumin. When the chicken is cooked, the pomegranate sauce loses its magenta hue. So, prior to pouring the glaze on the chicken, set some sauce aside and drizzle it on the cooked chicken to brighten the dish. Pomegranate-glazed chicken makes a great, naturally gluten-free entree for Rosh Hashanah or Shabbat.

For tips on getting the seeds out of a pomegranate without staining everything in your entire kitchen, read my Dark and White Chocolate Pomegranate Bark post.

Find more pomegranate recipes (not necessarily gluten-free) from other Kosher Connection bloggers by clicking the frog icon below.

Pomegranate-Glazed Chicken

(gluten-free, dairy-free, Rosh Hashanah, Shabbat)
By Gluten-Free Nosh
Printable recipe

Ingredients:

  • 2 cups pomegranate juice
  • 1/4 cup sugar
  • 2 tablespoons olive oil
  • 3 pounds cut-up, bone-in chicken
  • Salt and pepper
  • 1 tablespoon fresh grated ginger
  • 1 teaspoon ground cinnamon
  • 1 teaspoon ground cumin
  • 1/4 teaspoon ground nutmeg
  • Fresh pomegranate seeds, for garnish
  • Thinly sliced orange pieces, for garnish

Method:

  1. To prepare glaze, combine pomegranate juice and sugar in a small nonstick saucepan. Bring to a boil. Continue to boil, stirring frequently, until juice is thick, syrupy and reduced to 1/2 cup, about 15 to 20 minutes.
  2. Preheat oven to 350 degrees. Heat oil in a large skillet over medium-high heat. Season chicken pieces with salt and pepper. Brown the chicken, making sure skillet isn’t too crowded, about 3 to 5 minutes on each side.
  3. Place browned chicken pieces in  9×13-inch roasting pan. Stir ginger, cinnamon, cumin and nutmeg into glaze. Pour most of glaze over chicken, reserving a few spoonfuls to use as a garnish. Bake for 30-40 minutes or until chicken is cooked through.
  4. To serve, arrange chicken pieces on a serving platter. Drizzle with reserved glaze, and garnish with orange slices and fresh pomegranate seeds.

Yield: 6 servings

5 Comments

Filed under entrees, Jewish holidays, Recipes

Mini Gluten-Free Cheesecakes

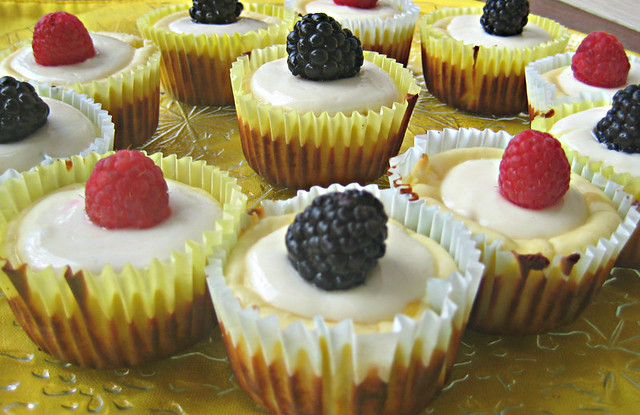
mini gluten-free cheesecakes

With gluten-free ginger snap cookies as their base, these mini cheesecakes are easy and delicious.

 
A classic cheesecake is creamy, smooth and slightly dense without cloying sweetness. The simple ingredients have integrity: cream cheese, sugar, eggs and vanilla. An honest cheesecake wouldn’t disgrace itself by being smothered in a sickeningly sweet strawberry sauce.

Preparation of these mini gluten-free cheesecakes — adapted from Bette Hagman’s Gluten-Free Gourmet cookbook — is as simple as the ingredients. Gluten-free ginger snap cookies serve as the base. (I usually use Mi-Del gluten-free ginger snaps or Trader Joe’s gluten-free ginger snaps.) A light creamy topping conveniently hides any cracks in the top of the cheesecakes.

These cute-as-a-cupcake treats are a perfect dairy dessert for Shavuot. On Shavuot, when we celebrate the giving of the Torah, dairy foods traditionally are eaten.

For other dairy Shavuot recipes, check out the Kosher Connection bloggers by clicking on the icon below. Please note that not all of the recipes are gluten-free.

Mini Gluten-Free Cheesecakes

(gluten-free, dairy)
By Gluten-Free Nosh
Printable Recipe

Ingredients:

Mini cheesecakes:

  • 12 gluten-free ginger snap cookies (or other small, round gluten-free cookies)
  • 2 (8-ounce) packages reduced-fat cream cheese
  • 2/3 cup sugar
  • 2 eggs
  • 1-1/2 teaspoons pure vanilla extract
  • 1 teaspoon grated lemon zest

Topping:

  • 1 cup plain, nonfat Greek yogurt
  • 2 tablespoons sugar
  • 1 teaspoon pure vanilla extract
  • Fresh raspberries, blackberries, strawberries or other garnish

Method:

  1. Preheat oven to 325 degrees. Line 12 standard muffin cups with paper liners. Place a ginger snap cookie, flat side down, into the bottom of each cup.
  2. In the bowl of a stand mixer, beat cream cheese and sugar until well-combined, occasionally scraping down the sides of the bowl. Mix in eggs one at a time, beating just until each egg is incorporated and there are no lumps (you don’t want the batter to be too airy). Stir in the vanilla extract and lemon zest.
  3. Pour batter into lined muffin cups, filling each 3/4 full. Bake for 25 to 30 minutes until the centers are mostly firm; remove from the oven.
  4. Prepare the topping. In a medium bowl, stir together the Greek yogurt, sugar and vanilla extract until smooth. Spoon 1 tablespoon of yogurt mixture onto the top of each mini cheesecake. Return pan to the oven and bake for an additional 5 to 8 minutes until topping is set.
  5. Immediately garnish the mini cheesecakes with fresh raspberries, sliced strawberries or any other topping that hits your fancy. Refrigerate mini cheesecakes for at least 1 hour before serving. Store in the refrigerator.

Yield: 12 mini cheesecakes

4 Comments

Filed under Jewish holidays, Recipes